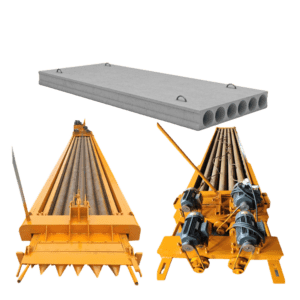
Guia de instalação de painéis de parede divisória de betão
This is how to install the partition wall panel correctly. Installing precast partition wall panels is six times faster than traditional methods. These methods include brickwork or laying block walls. This concrete partition wall panel installation guide helps you quickly install prefabricated wall panels.

Concrete Partition Wall Panel Installation Guide1. During stocking and transportation time it is possible to put only two stacks on top of each other. Stock yard should be level and panels should be protected against rain during stocking.
2.Panel stacks should always be lifted from under wooden pallet with a lifting fork or belt. Next, please refer to the concrete partition wall panel installation guide.

3. The Wall panel stacks can easily be moved at construction site by a forklift or a trolley.
4. Single Wall panel can easily be moved by a simple wheel.

5. wall Panels can also be moved manually by inserting short steel tube (500 mm) into the second hollow as handle. Panels should always be transported sideways.
6 .Gluing agents should be mixed carefully.

7.The line of wall is marked to the floor and ceiling before start of installation.
8.Guiding boards are fixed to the floor and ceiling. The guiding support will automatically align the wall when lifting the panels straight into upright position.
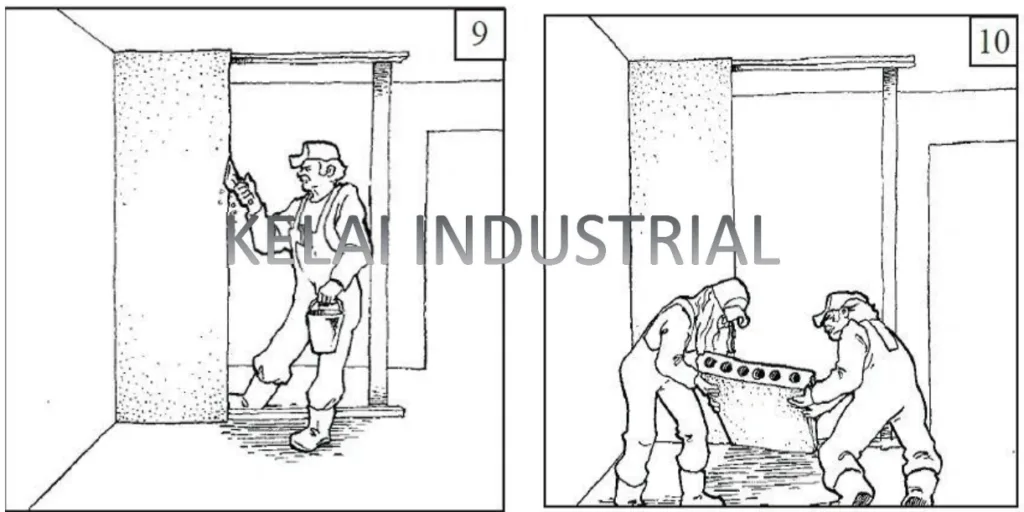
10.Before lifting the Wall panel to an upright position, move it so the bottom is close to the correct spot. After that the wall panel is lifted to upright position by two men.
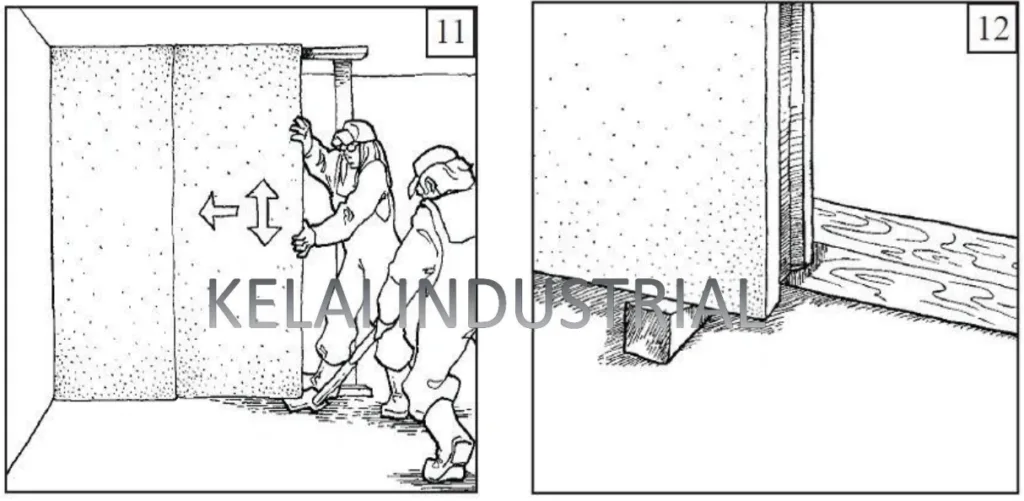
11.The walls should be pushed against the previous walls. Move them up and down to position the tongue and groove correctly. This will help the glue squeeze out. Correct thickness of joint between two panels is 1-2 mm.
12 Wall panel is positioned to correct level by using wooden wedges at the bottom and top of the walls. The height of wall panels should be about10 – 50 mm smaller than free room height.
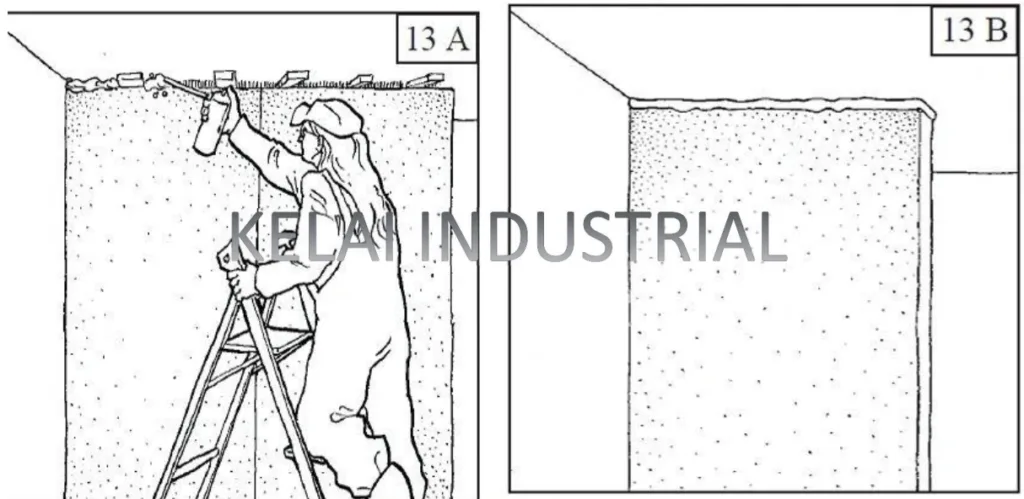
13A.The top joint is filled with polyure than foam. Correct thickness of the joint is 5 – 10 mm.
14B. Alternatively, if the same glue used on the sides is used for the top joint, push the wall panel against the ceiling. This will make the glue squeeze out. Correct thickness of joint is 1-2 mm.

14.The surplus gluing agent is removed from joints right after installation.
15.Bottom joint of wall panels is filled with mortar or concrete. Correct thickness of joint is 10 – 40 mm.

16 .To the panels next to the door ‘shoulders’ are sawed or flat steel bar for door top piece fixed. The door top piece is glued by using polyurethan foam or gluing agents. Joints should be as thin as possible.
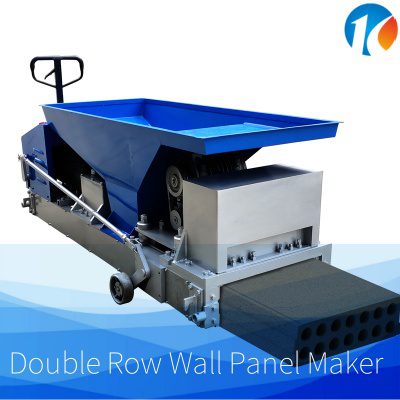
17.All corners should be strengthened with nail plugs (3/corner) for example HILTI HRD-H. We have the wall corner installation solution by T shape wall panel extruder and L shape wall panel extruder.

18.On to corner joints paper or class fiber tape should be glued before plastering .
19.On to the joints at a door top piece paper or class fibre tape should also be glued before plastering.

20.Flexible joints between wall panels should be built after each 5 – 6 m. PU-foam or mineral wool can be used as elastic joint material.
21.The hollow cores are used for leading through the cables and electrical boxes are drilled to any desired point.

22. Wall panel needs only a very thin skim coating (1 – 2 mm) before surface finishing. It is easiest to do with a wide trowel.
23.All kinds of sawings and drilling are easy to make to the wall panels.
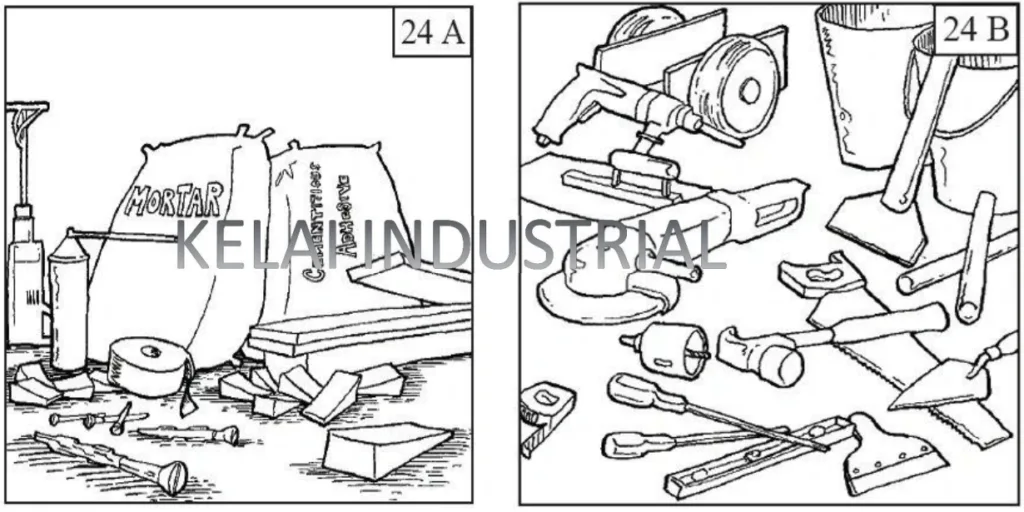
24A .installation materials and accessories Mortar, cementitious adhessive, lumber, nail plugs, wooden wedges, paper tape, PU-foam and mortar mixer.
Installation Tools
Here are the tools you will need for installation:
- Hammer
- Saw
- Screwdriver
- Level
- Meter rule
- Trowel
- Drill
- Trolley
- Concrete cutter
- Installation steel bar
- Drill for electrical boxes
- Buckets
- Lifting bars
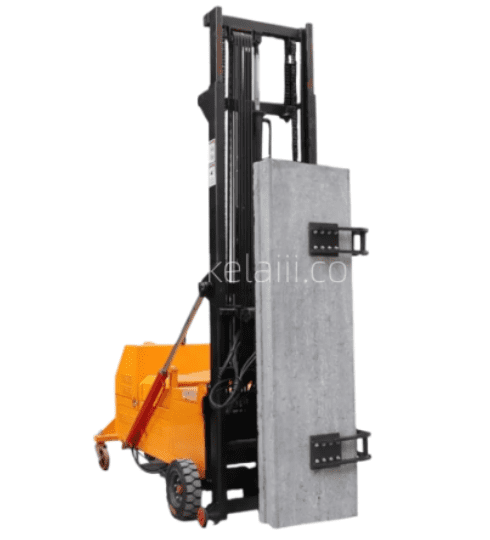
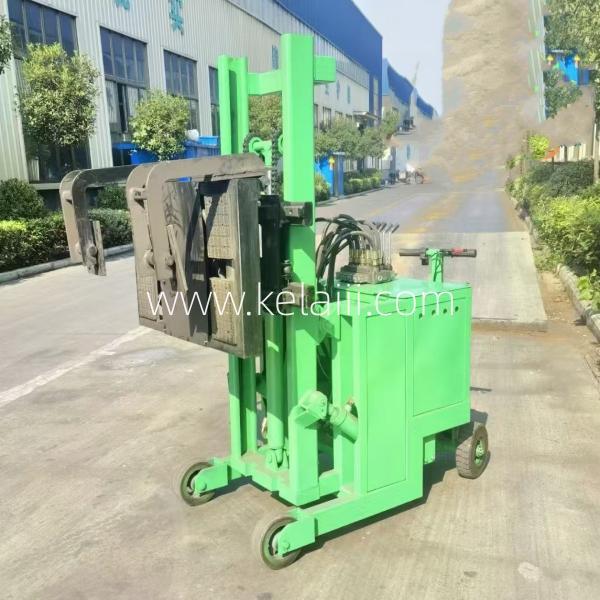
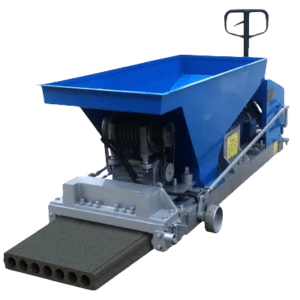
A hydraulic wall panel installation machine helps you finish wall panel work. It saves time and effort. This machine is often used at construction sites, for fence building, and for boundary wall projects.
