How to install precast concrete panel ?
The Concrete Partition Wall Panel Installation Guide is the most worth learning.
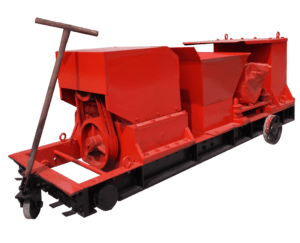
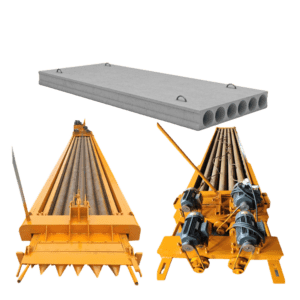
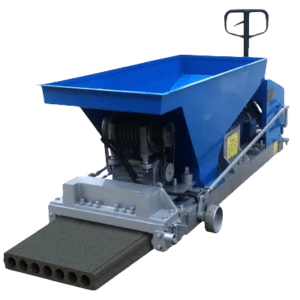
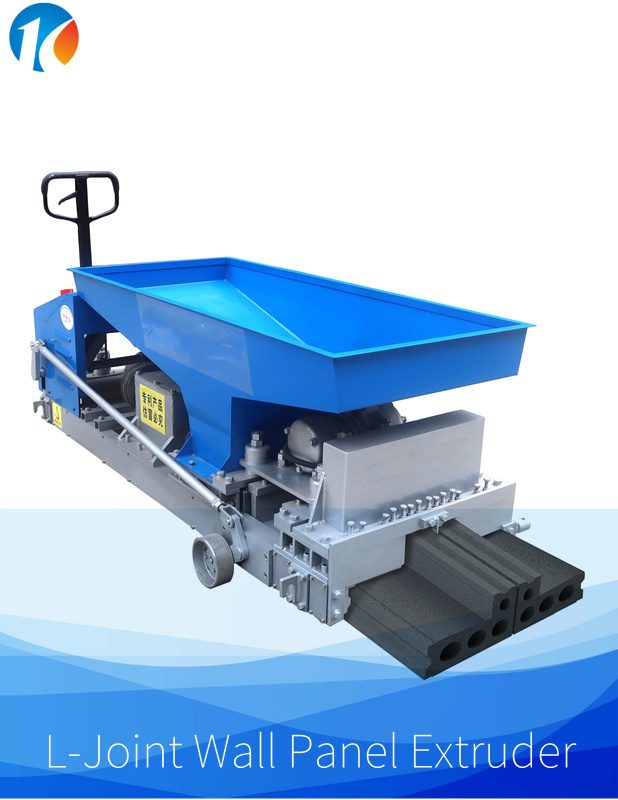
The lightweight partition panels produced by precast concrete wall panel machines are widely used in construction sites. But do you know the Concrete partition wall panel construction process?
Concrete Partition Wall Panel is up to 7 times faster than traditional block work.
A team of workers using Concrete Wall panels finished a wall in a lot less time than an equal number of workers using traditional construction methods and ordinary blocks.
Concrete partition wall panel construction process
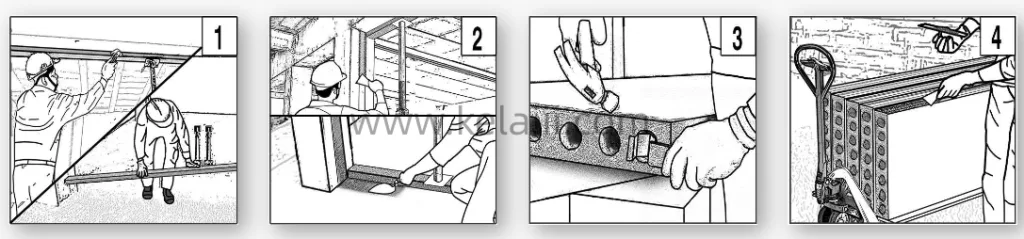
1.Following ceiling and floor markings, place 2” x 4” guiding boards on the ceiling and floor. Keep them in place with adjustable shoring posts. Align the guides to ensure perfectly vertical installation of the wall panels.
2.Apply cementitious adhesive to:
- the side of the column to which you will affix the first wall panel.
- the area of the floor where you will position the first panel.
3.Place brackets in the holes at the top and bottom of the panel farthest from the joint of the column and the panel.
4.Dust free = best possible bond. Clean the groove side of the panel. Pre-wetting is recommended. Apply cementitious adhesive to the side of the panel which will be affixed to the column.

5.Raise the panel into an upright position. To keep the panel in place, put shims in the space between the bottom of the panel and the floor.
6.Provide a 15 mm seismic gap between the top of the panel and the beam or soffit of the slab.
7.Level the first panel and keep it in place with wooden wedges inserted in the space between the top of panel and the beam or slab soffit.
8.Nail-gun the bracket on top of the panel to the beam or soffit of slab. Nail-gun the bracket at the bottom of panel to the floor.

9.Dust Free = best possible bond. Clean the side of the panel. Pre-wetting is recommended. Apply cementitious adhesive to the side of the installed panel and the area of the floor where you will position the second panel.10.Repeat step 3 for second panel – place brackets in top and bottom holes farthest from joint of first and second panel.
11.Raise the panel and position it so that its groove fits in the tongue of the the first installed panel. (Repeat step 8 – affix top and bottom brackets of panel to the beam or soffit and floor with a nail gun.) Follow same procedure for succeeding panels.
12.Remove excess adhesive. Be sure to fill any gaps in the joint of the panel with cementitious adhesive.
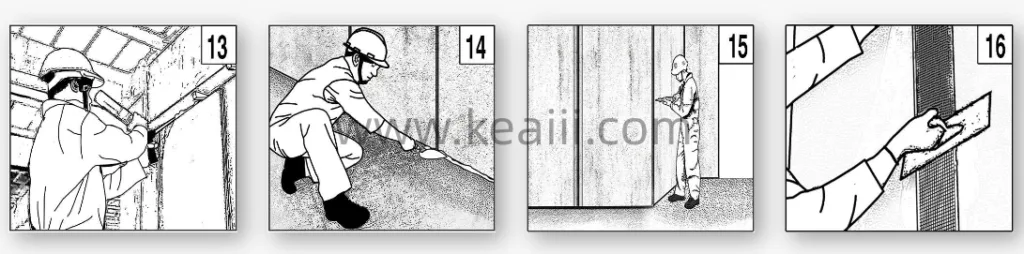
13.Fill the gap between the wall and ceiling with polyurethane foam.
14.Fill the gap between the panel and the floor with mortar. Thickness: 15-35 mm.
15.All corners should be strengthened with nail plugs (3 per corner.)
16.After curing the adhesive in the joints between panels for 2 to 3 days, add a thin layer of joint mortar. Place the paper mesh in the groove between the panels, and fill up with more mortar to make it level with the panel. After the mortar cures, the partition wall is ready for finishing.
For more information about precast concrete machinery, please visit our official website:www.cnkelaiii.com / www.kelaiii.com